To correctly install the sensor, follow the procedures below.
Configuration:
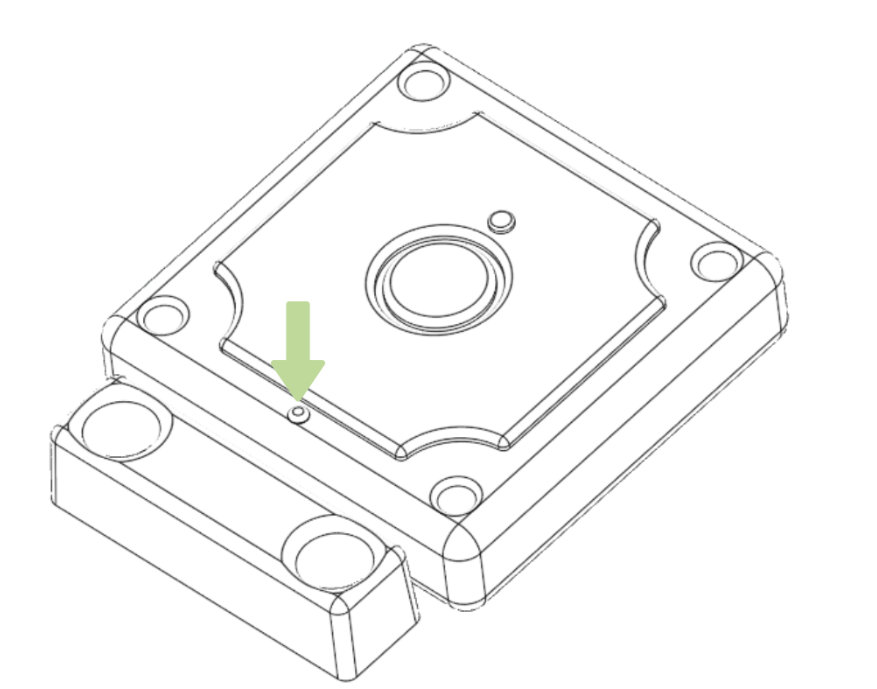
- Press the round membrane button on the sensor to turn it on, the LED on the sensor should light up for about a second.
During normal operation of the sensor the LED is always off.
You will no longer need to press the button for any other operation.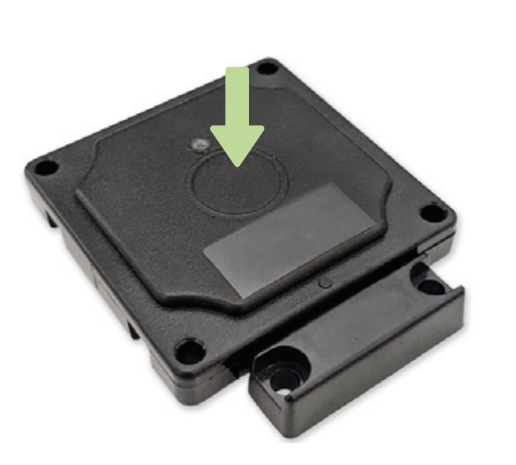
- Open the 1Control app
- Access settings by pressing the gear in the top left
- Open the “Manage your devices” section.
- Select the SOLO device that manages the access on which you want to install the sensor
- Select the copy of the remote control associated with the access in question
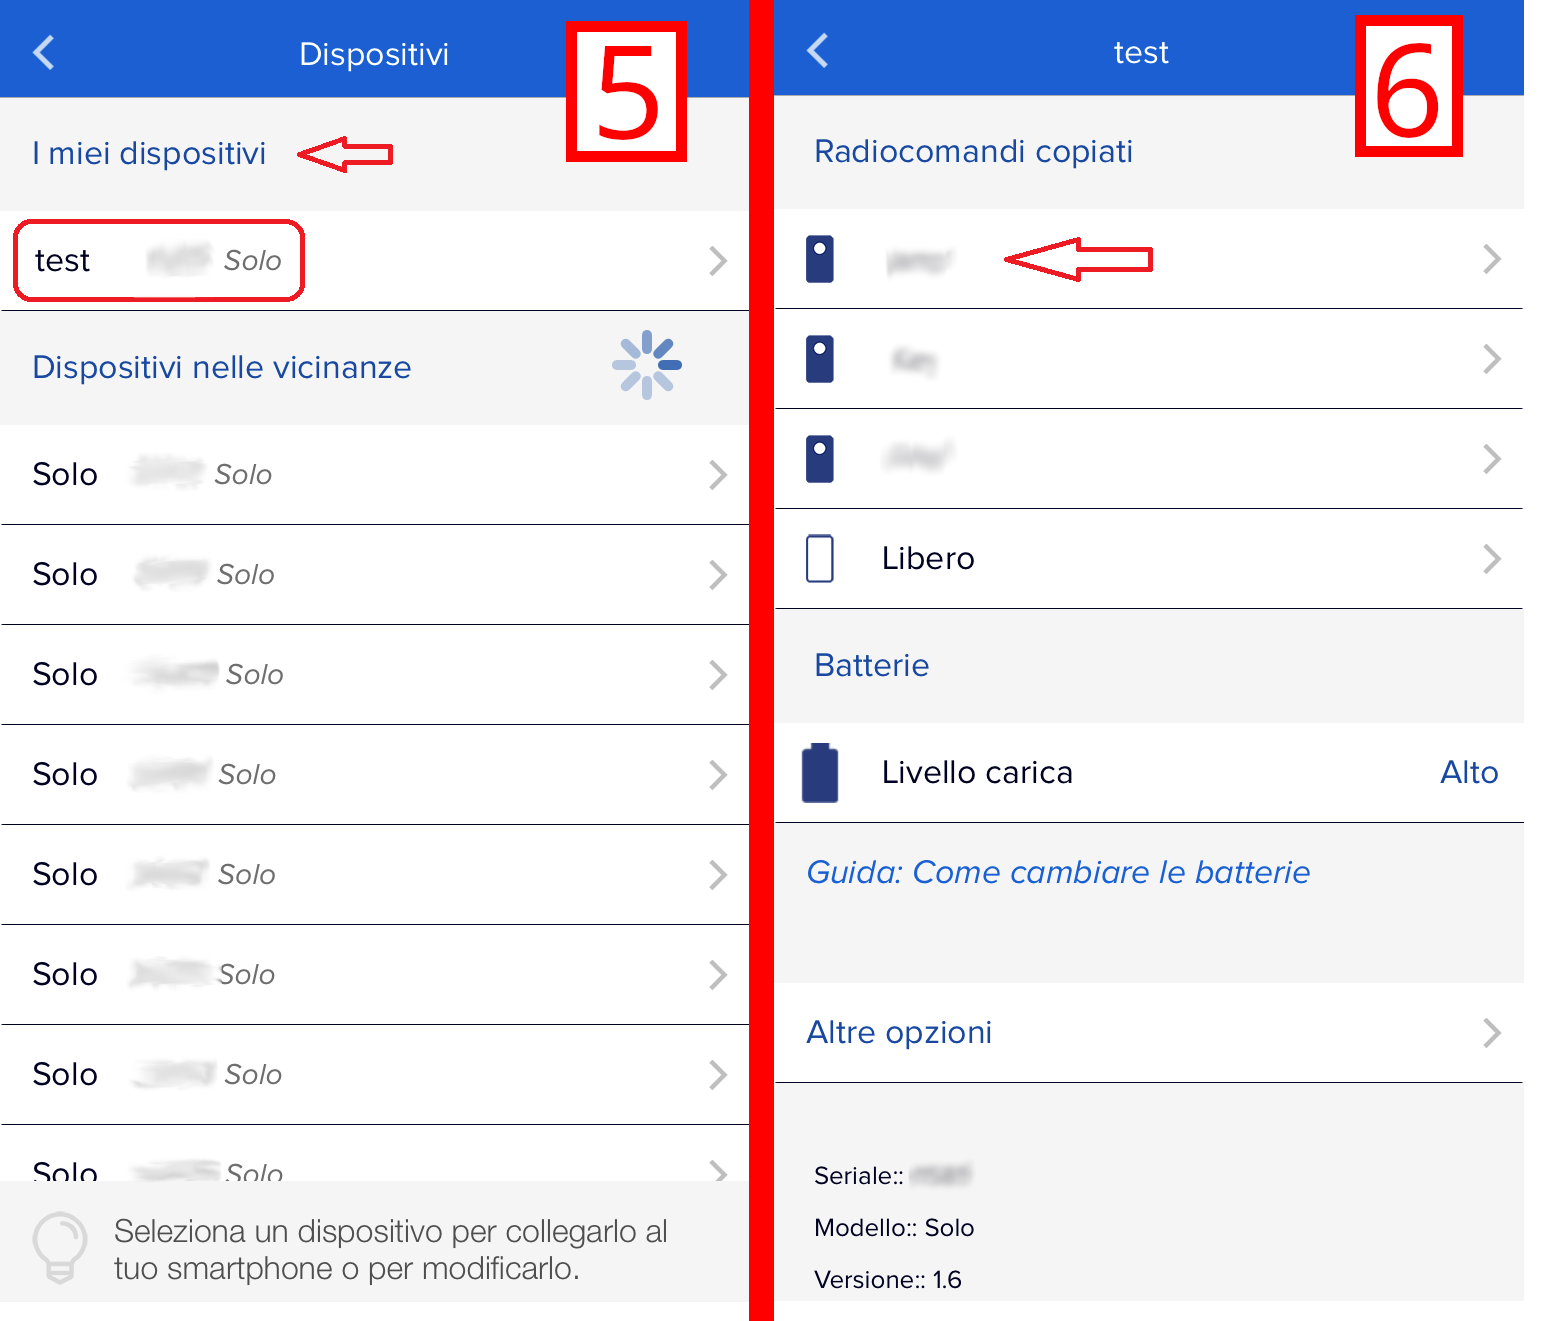
- Click “Opening Sensor”
- Follow the instructions in the app.

Positioning:
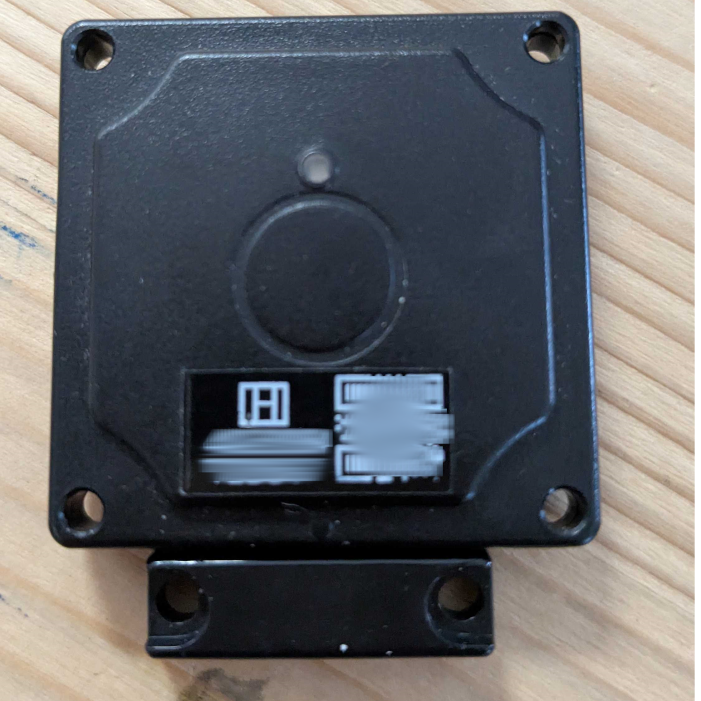
- Make sure that when the gate or garage is closed the sensor components are close together (<1.5cm). In particular, it is important that the smaller component of the sensor is close to the reference dot of the larger component as shown in the figure.
- On the contrary, when the gate or garage is open, the sensor components must be distant from each other.
- Also make sure the door sensor is within 15 meters of your 1Control LINK so that it can be detected.
- We recommend installing the sensor so that the part with the button and LED faces directly towards the LINK